Install phpMyAdmin on CentOS/RHEL and Fedora
What is phpMyAdmin ?
phpMyAdmin set of PHP-scripts to manage MySQL over the web. phpMyAdmin can manage a whole as well as a single database. phpMyAdmin is the best option for managing MySQL databases through web interface. Its very easy to use and provides almost all the option to work with your MySQL server. It also provides an easy way to configure mysql replication with easier steps In this article you ill learn how we can install phpMyAdmin in our Linux System.
Note :- phpMyAdmin required Apache, PHP and MySQL to be installed on server. if you do not have use this post to install them.
How to install phpMyAdmin ?
Step 1. Enable Remi Repository
phpMyAdmin most updated package is available under remi repository. Install it in your system using following commands.
For CentOS/RHEL 6
rpm -Uvh http://rpms.famillecollet.com/enterprise/remi-release-6.rpm

For CentOS/RHEL 5
rpm -Uvh http://rpms.famillecollet.com/enterprise/remi-release-5.rpm

For Fedora 20
rpm -Uvh http://rpms.famillecollet.com/remi-release-20.rpm

For Fedora 19
rpm -Uvh http://rpms.famillecollet.com/remi-release-19.rpm
Step 2. Install phpMyAdmin using yum package manager by following command after adding the remi repository. All the dependencies will automatically be installed.
yum --enablerepo=remi -y install phpMyAdmin
Step 3. Configure phpMyAdmin
By default phpMyAdmin allowed to access only from localhost. If you want to make it accessible from remote computers then edit the following file
vim /etc/httpd/conf.d/phpMyAdmin.conf
and update all 127.0.0.1 with your network like below “Allow from 192.168.1.0/24” or enable phpMyAdmin access for everyone.
Alias /phpMyAdmin /usr/share/phpMyAdmin
Alias /phpmyadmin /usr/share/phpMyAdmin

<Directory /usr/share/phpMyAdmin/>
    <IfModule !mod_authz_core.c>
     Order Deny,Allow
     Deny from All
     Allow from 192.168.1.0/24
     Allow from ::1
   </IfModule>
</Directory>

<Directory /usr/share/phpMyAdmin/libraries/>
    Order Deny,Allow
    Deny from All
    Allow from None
</Directory>

<Directory /usr/share/phpMyAdmin/setup/lib/>
    Order Deny,Allow
    Deny from All
    Allow from None
</Directory>

<Directory /usr/share/phpMyAdmin/setup/frames/>
    Order Deny,Allow
    Deny from All
    Allow from None
</Directory>
Step 4. You need to restart Apache service After updating phpMyAdmin apache configuration file to take affect and reload new settings.
sudo service httpd restart
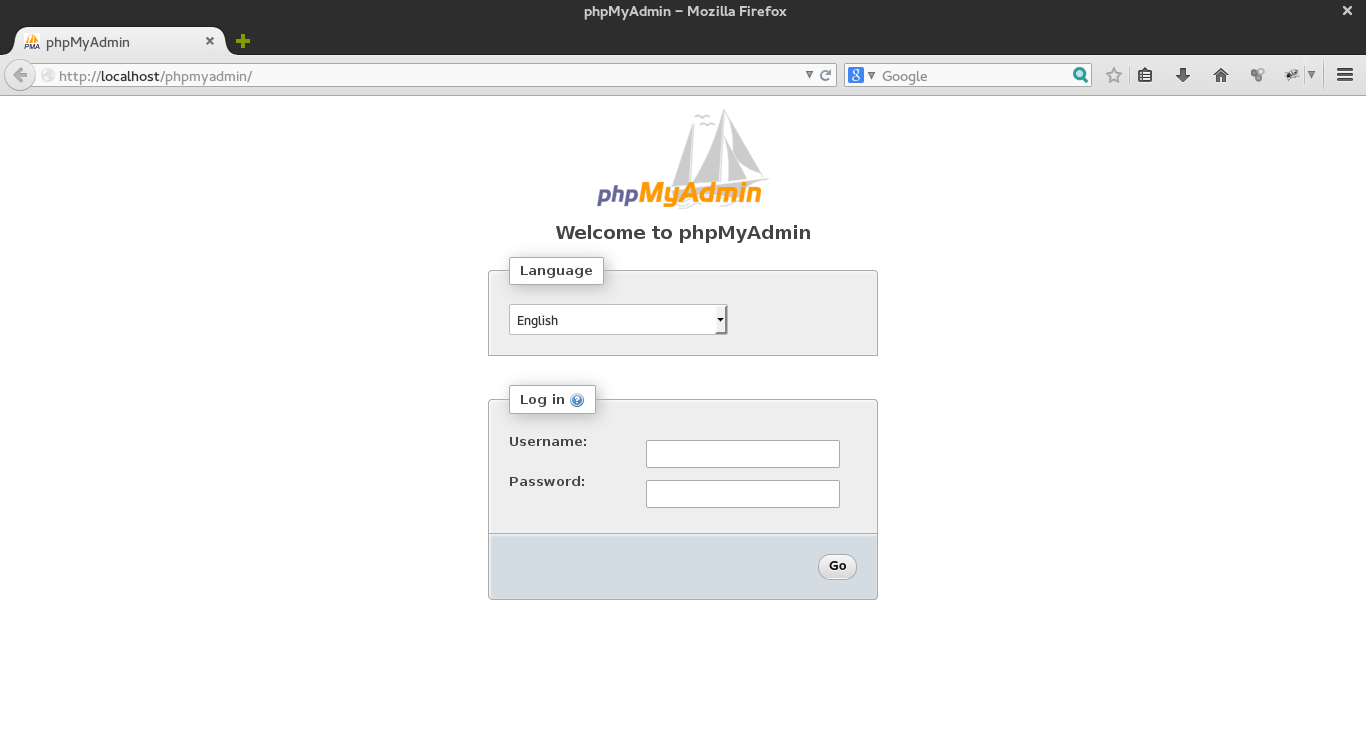
Step 5. Now you can access phpMyAdmin in browser navigating to http://localhost/phpMyAdmin/ or http://server-ip-address/phpmyadmin/ .
That’s it, You have successfully installed phpMyAdmin
Using single phpMyAdmin we can manage multiple MySQL servers by adding multiple remote MySQL server. Use this article to add multiple MySQL hosts in phpMyAdmin.


