Configure Openfire Users or Group Creation & plugins installation
Steps to Configure Openfire Users or Group
Before starting configure openfire users or group first you need to install openfire your server. if you havn’t installed then click here to install with this article.
if you already installed then proceed with the following.
After you login to your Openfire admin interface click from top menu “Users/Groups”.
Setting up user accounts
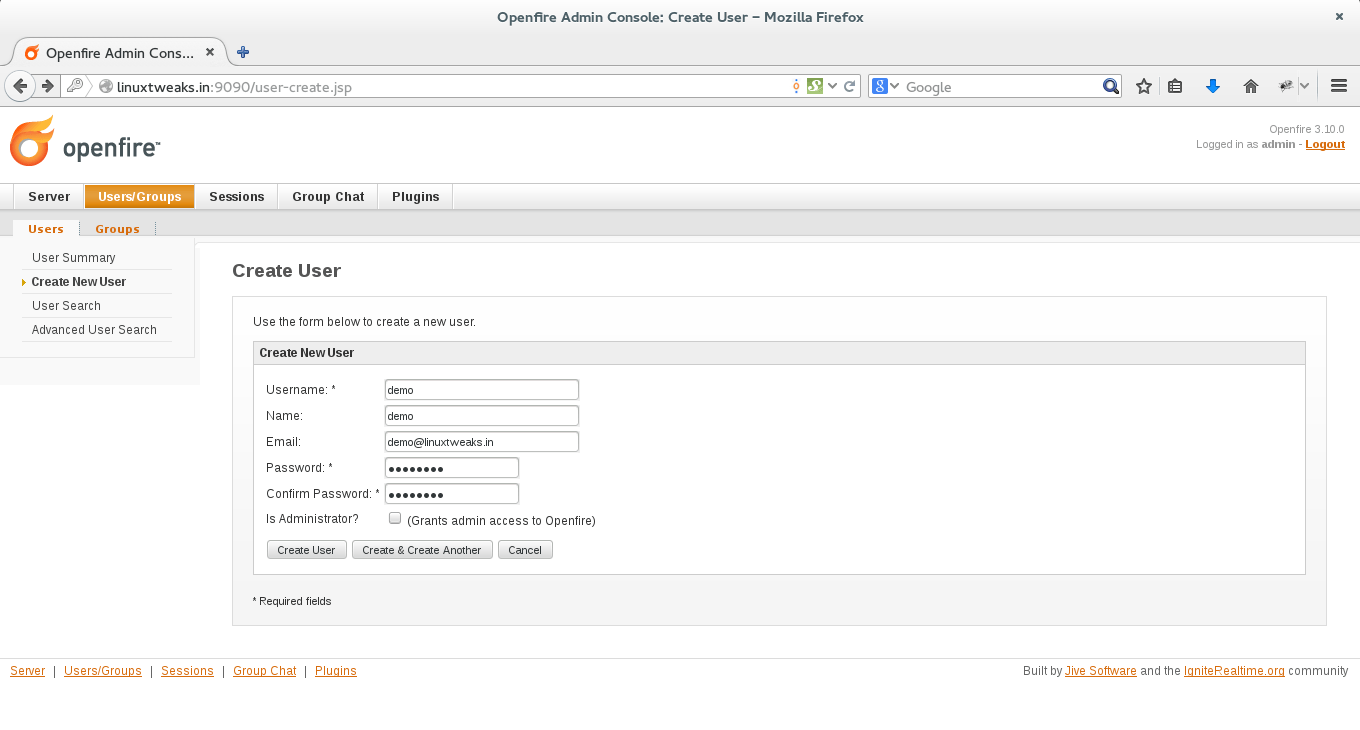
- Login to admin console by going on https://www.linuxtweaks.in:9090/ or http://yourserverip:9090/ from top menu choose Users/Groups and then Create New User from left menu.
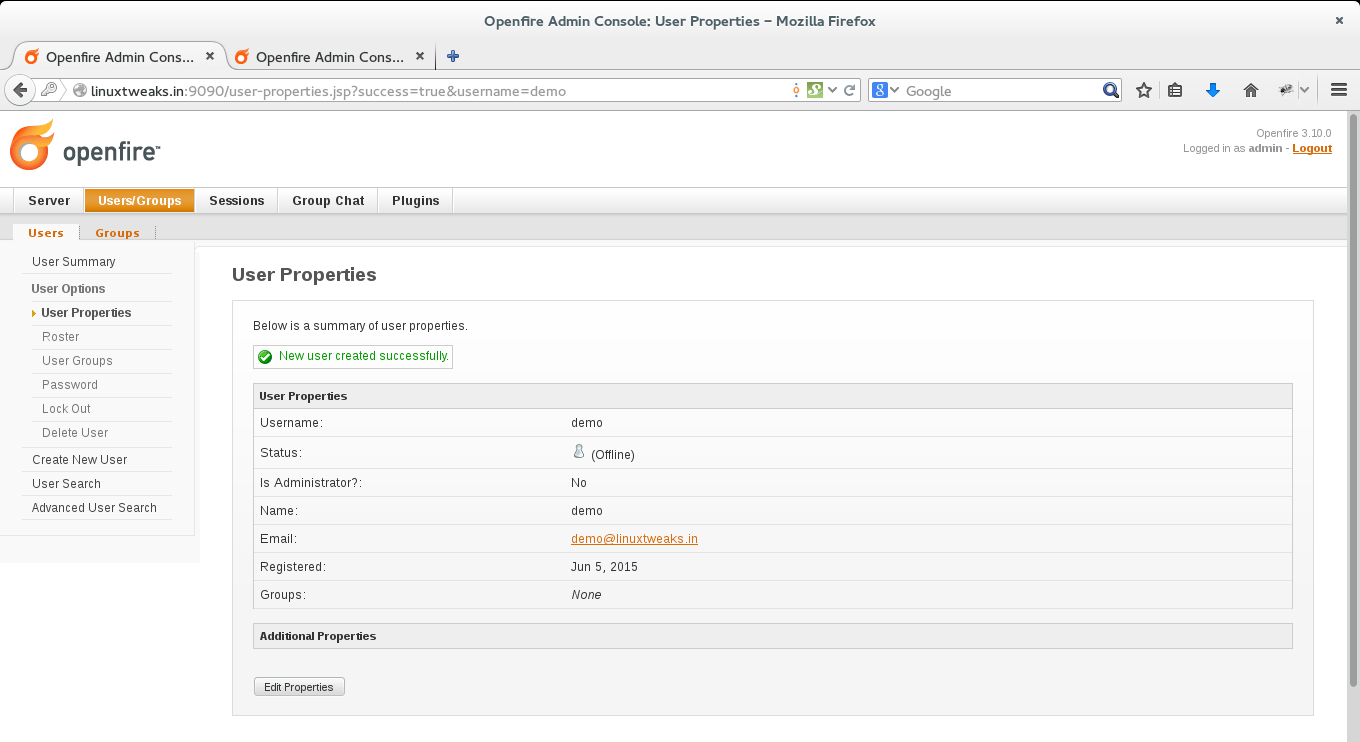
- Click on “Create User”
Setting up Group accounts
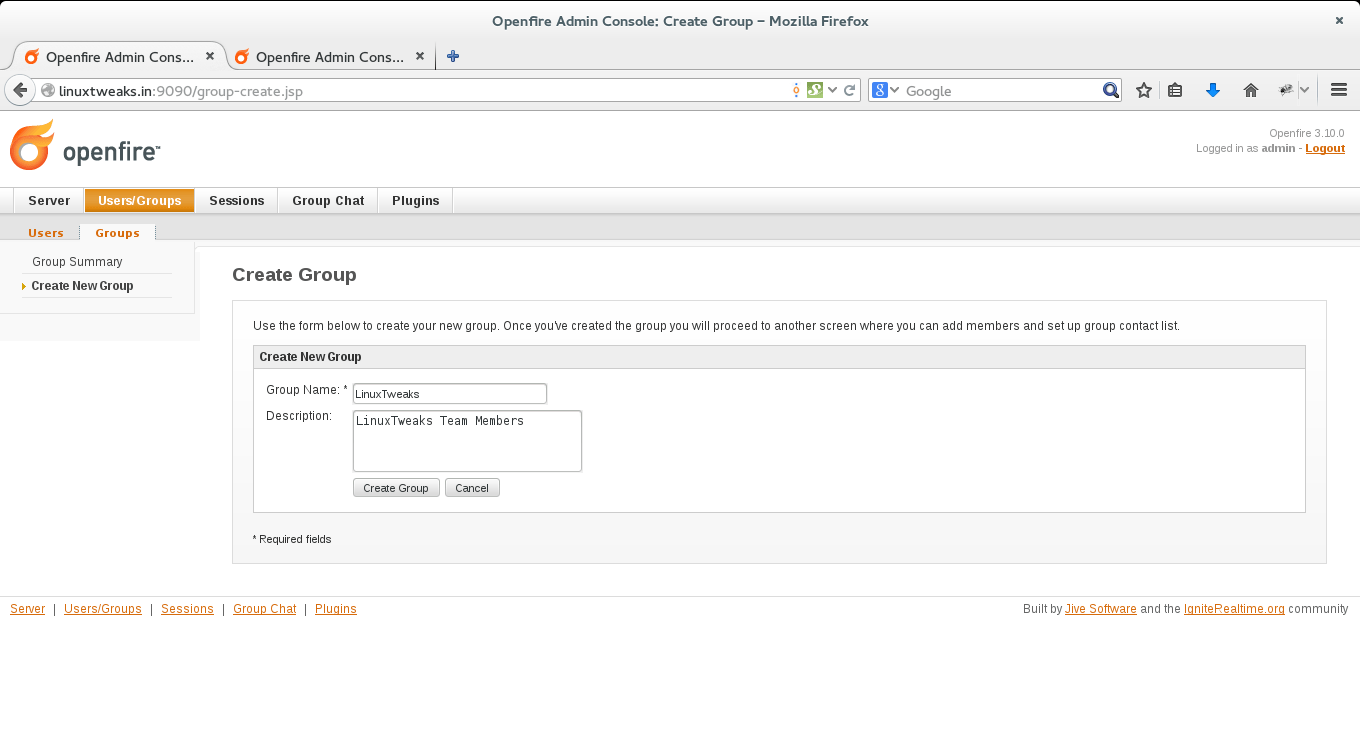
- Login to admin console by going on https://www.linuxtweaks.in:9090/ or http://yourserverip:9090/ from top menu choose Users/Groups and then navigate to Groups and click on Create New Group.
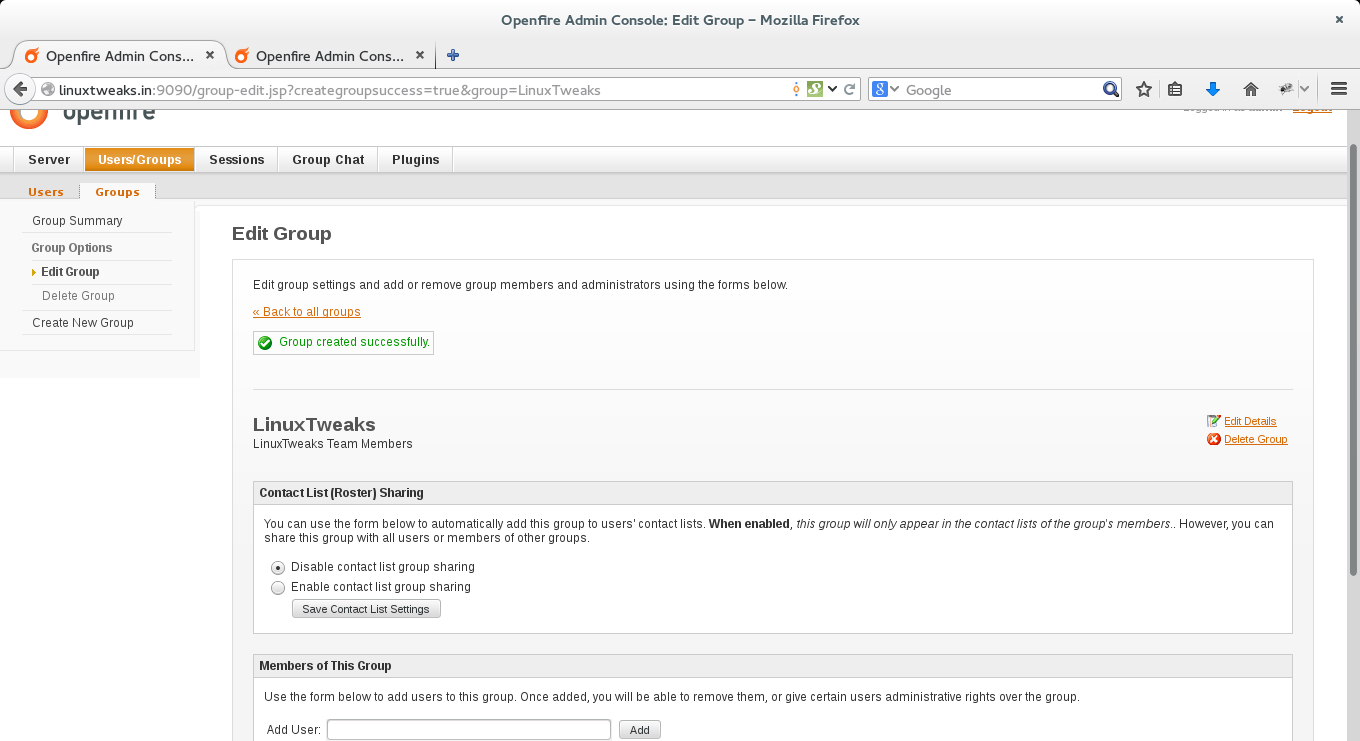
- Click on “Create Group”
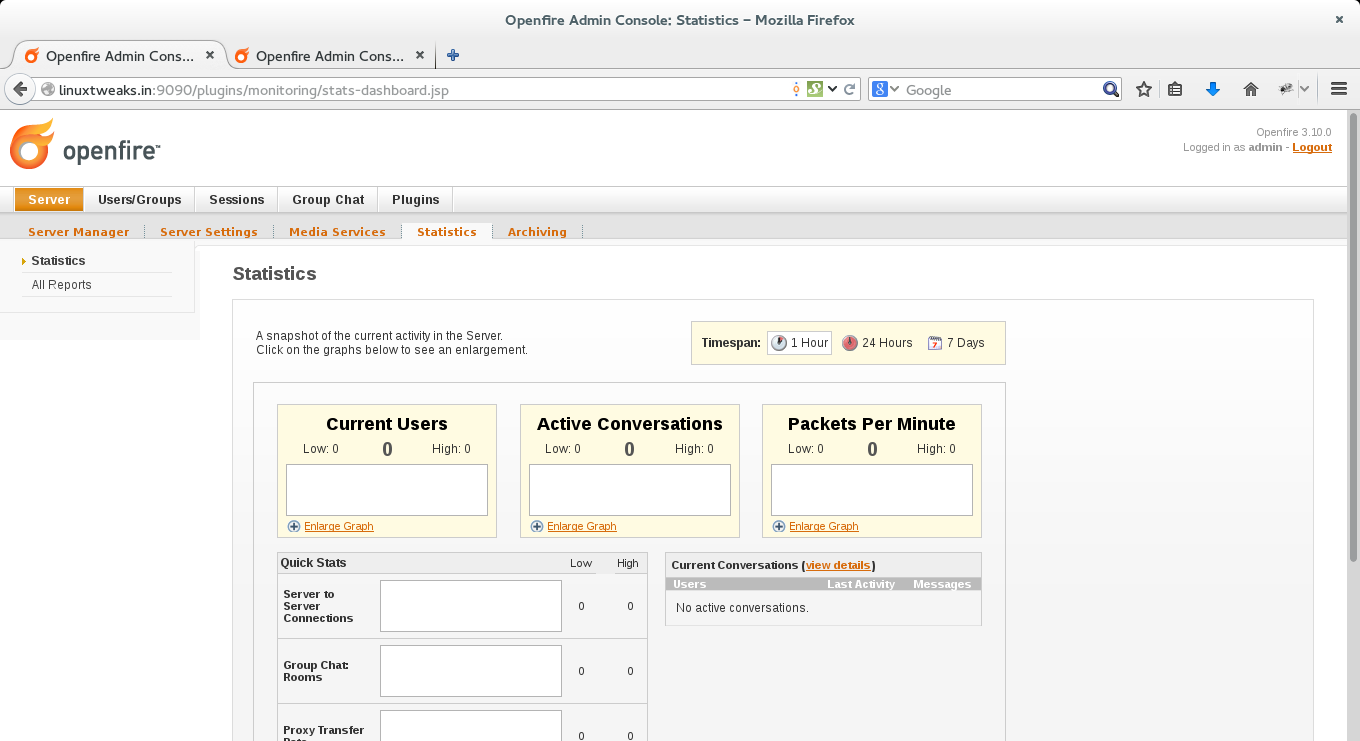
- To User/Group Statistics
Openfire Plugin’s installation
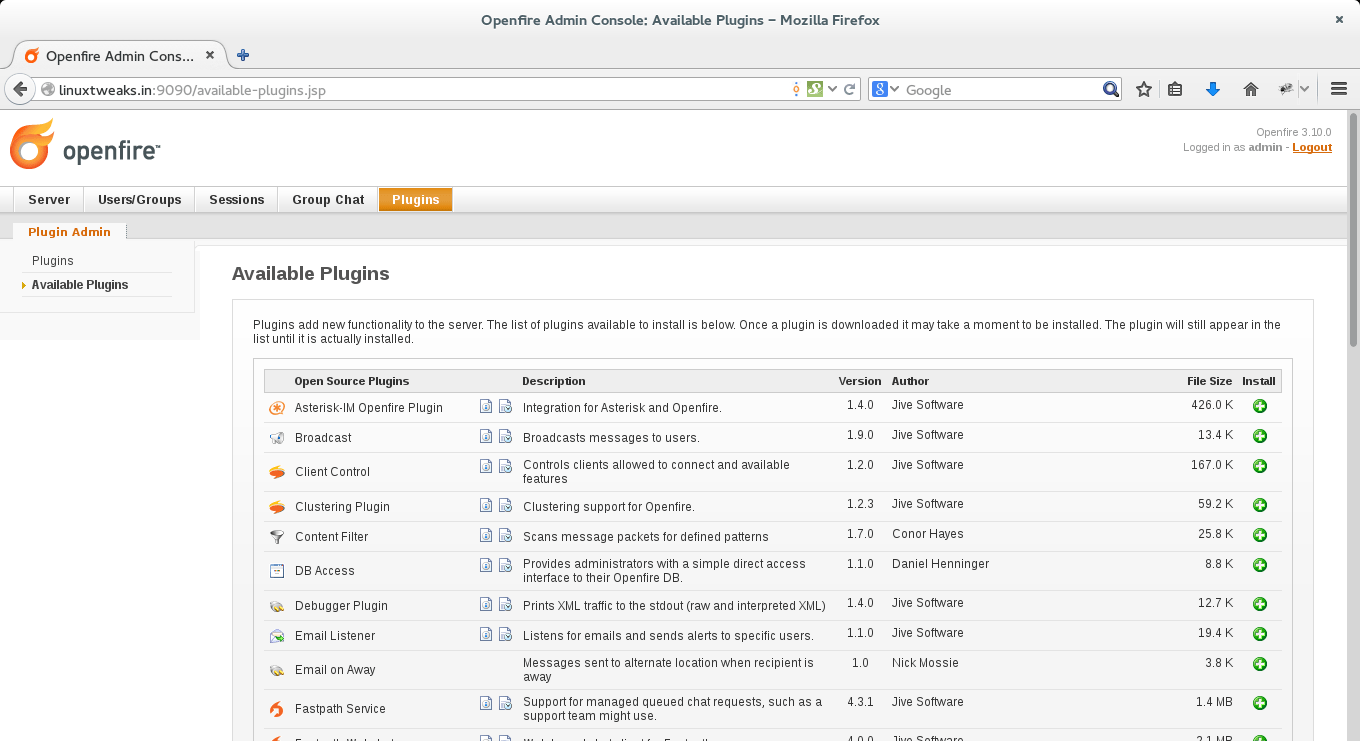
- click on “Plugins > Available Plugins” to see all available plugins to installed
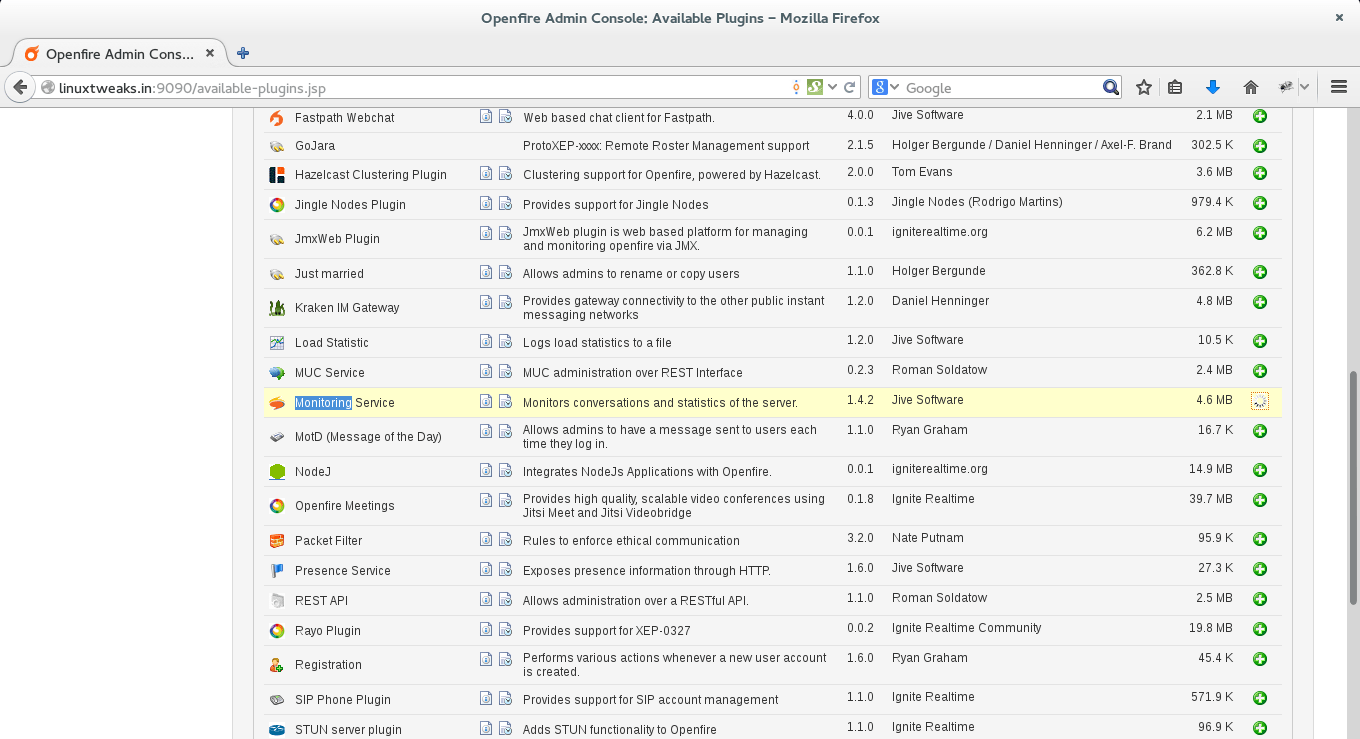
- Here i am installing “monitoring service” plugins to store & see all conservation.
Search for monitoring and click on right side + button to install.
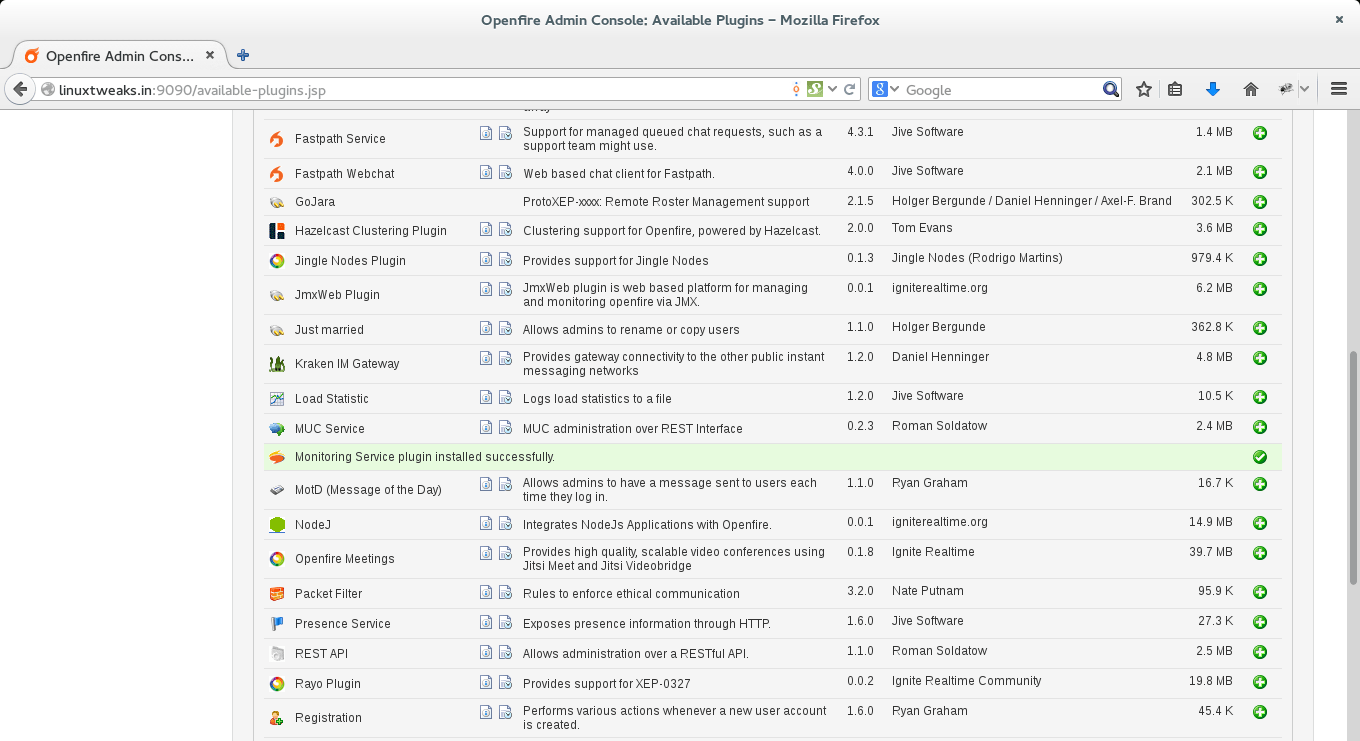
- After seccussfull installation see the screen below “Monitoring Service Plugin installed successfully”
Monitoring Service Plugin Configuration
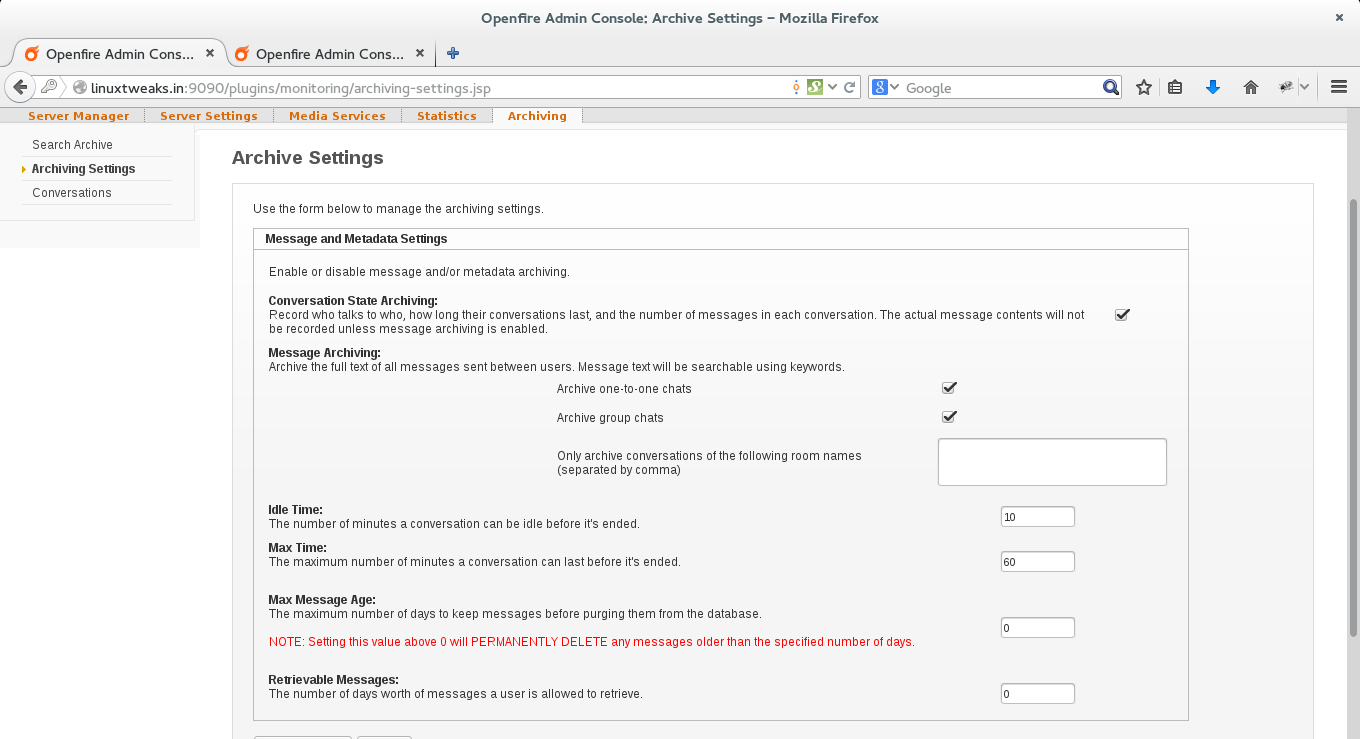
- Conservation Archive Setting to save and see all chat record on server.
Mark both check box 1. Archive one-to-one chats 2. Archive group chats
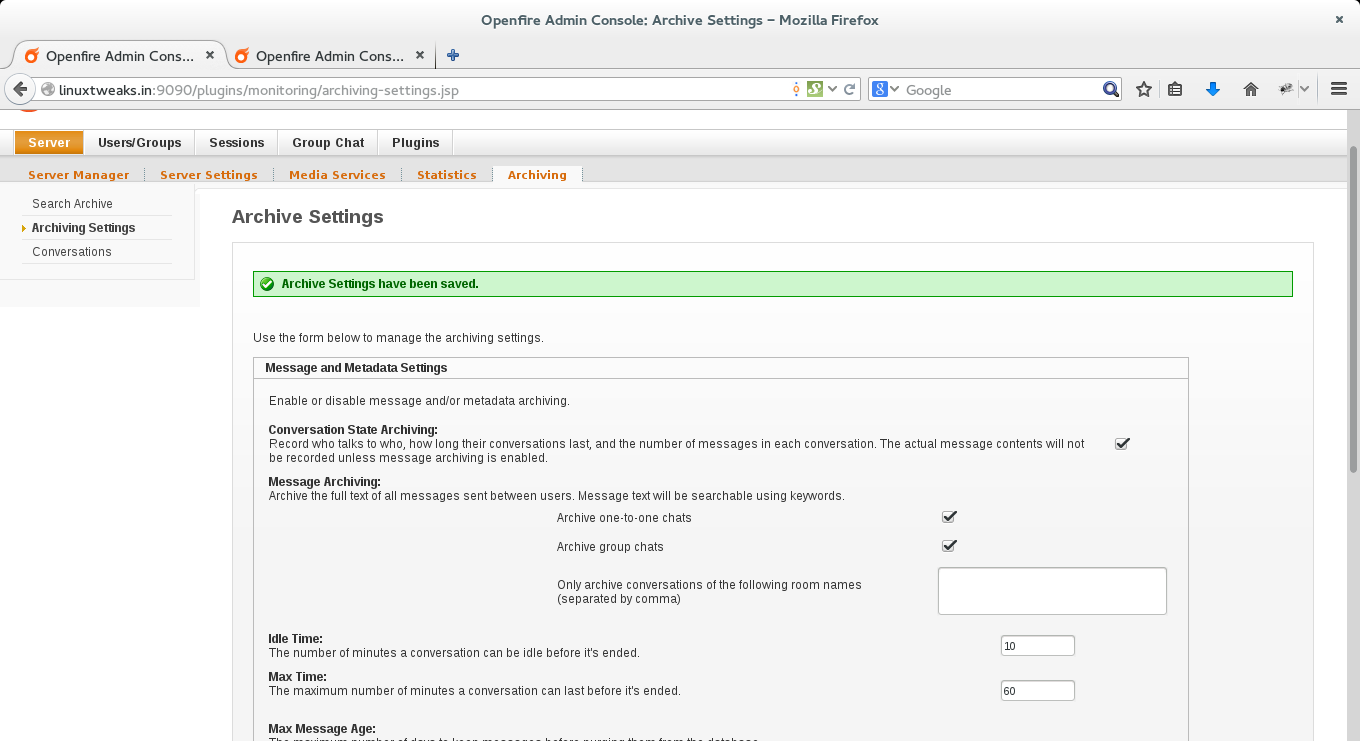
- Click on “Update Setting” and see the below screen as shown.
Congratulation all the configuration done, Now to configure a chat client in Ubuntu/Linux click on the below url’s
1. Configure Pidgin chat client with Openfire.
2. Configure Spark chat client with Openfire.
View more posts in this category !!!
Openfire installation Guide Step by Step
